Can you DIY a Bathroom Mat? Why would you do it? Today, we’re having a fun DIY! Join in the fun.
Disclosure: This post contains affiliate links. If you choose to purchase through our links, there will be no additional fee for your purchase & you will support our work as well, so thank you! For more information, you can check out our Disclaimer.
This post was updated on 01/02/2021
Good morning, lovely dreamers! and welcome to a new DIY project! Today, we’re taking you on a step by step and showing you how to DIY a Bathroom Mat and recycle an old towel in the process.
But first, a little story about us.
I have always been fascinated by all things DIY. Growing up I was surrounded by tailors at my grandparent’s house and we were ( and still are) used to recycle and make almost everything we use. I must thank my grandmother and my mother for this thirst for DIY.
Related:
10 Super Easy & Cheap DIY Halloween Decorations you will LOVE
Since we( my fiance Andy and I) moved 2000 miles away from home, adjusting has been our main problem. But, one day at a time, it keeps getting better. When we were first getting settled into our new house, I wanted to figure out what could be done to improve it.
The first thing I noticed was that I only had one tiny mat in the bathroom, and when it got wet, I had nothing to replace it with.
Now that was a problem.
We were still on a tight budget back then, because Andy was the only one working, so I had to come up with something that wouldn’t cost a thing and still be pretty in the end.
If you can relate to our problem, this is the place to be. The solution? Do it Yourself!
But enough with the chit-chatting! Let’s get to it!
DIY a Bathroom Mat and Recycle an old towel
What you need:
⦁ 2-3 old, large towels. I used some old beach towels that I had around the house.
⦁ scissors
⦁ a big needle
⦁ some string ( the same colour as your towels)
⦁ a little bit of creativity
⦁ patience
How to do it:
Because we came here by plane, I couldn’t bring my mother’s sewing machine with me, so when I need something fixed, I do it by hand. So this is why I did it this way.
Before you start, know this. Things will get messy, so do this in a room without wind or you will have some issues with the mess. I had fluffy towel confetti everywhere!
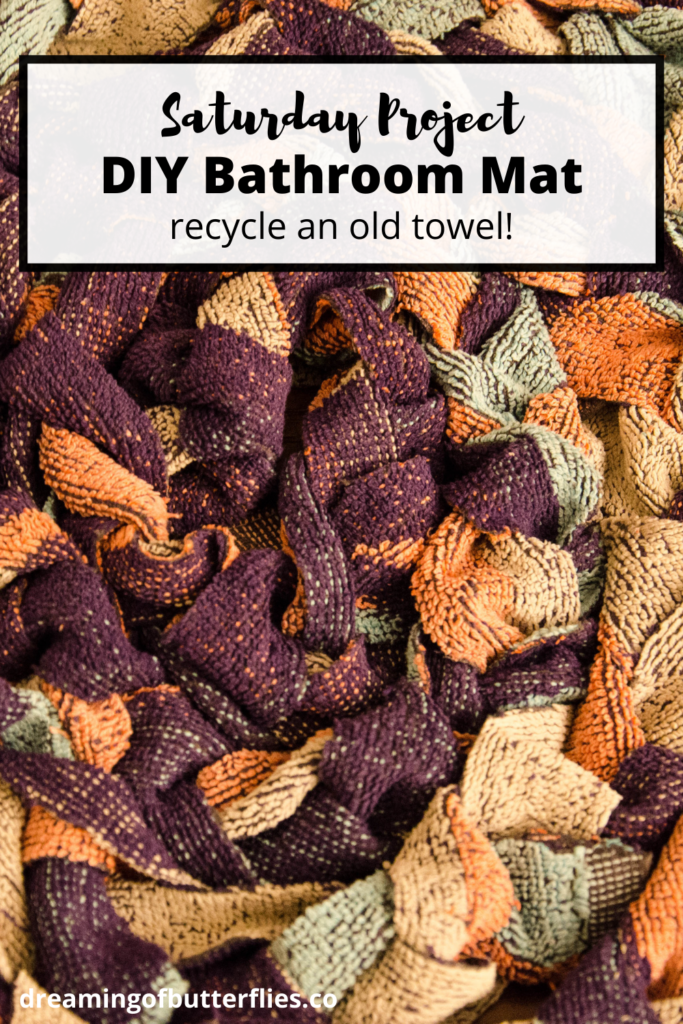
1. Fold the towel in half and place it on your work table.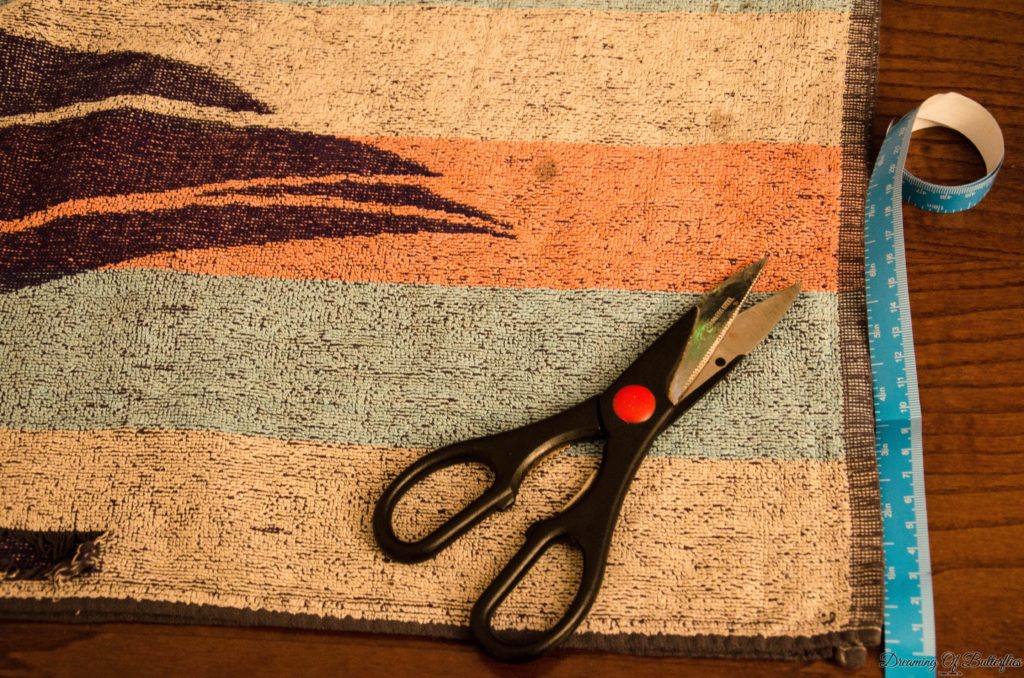
2. Start cutting long strings, about an inch thick. Try to cut as straight as possible.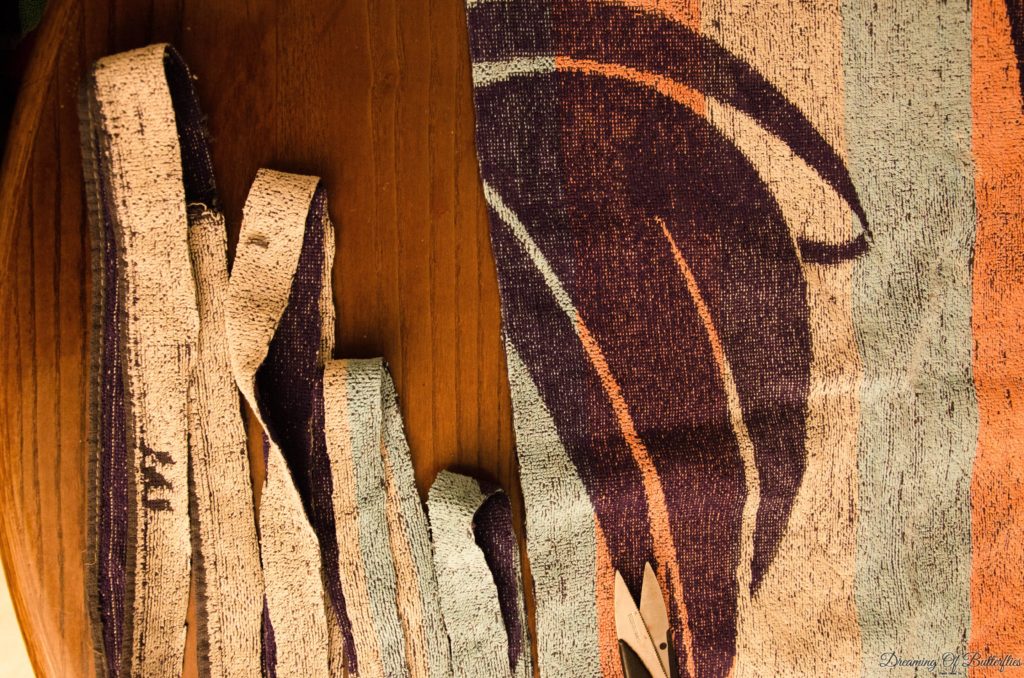
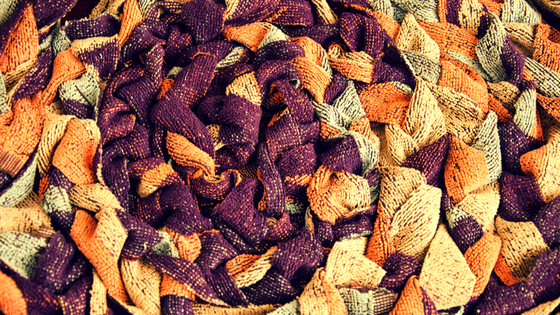
3. After you have finished mutilating the old towel, you need to take 3 of those strings and sew them together at the ends.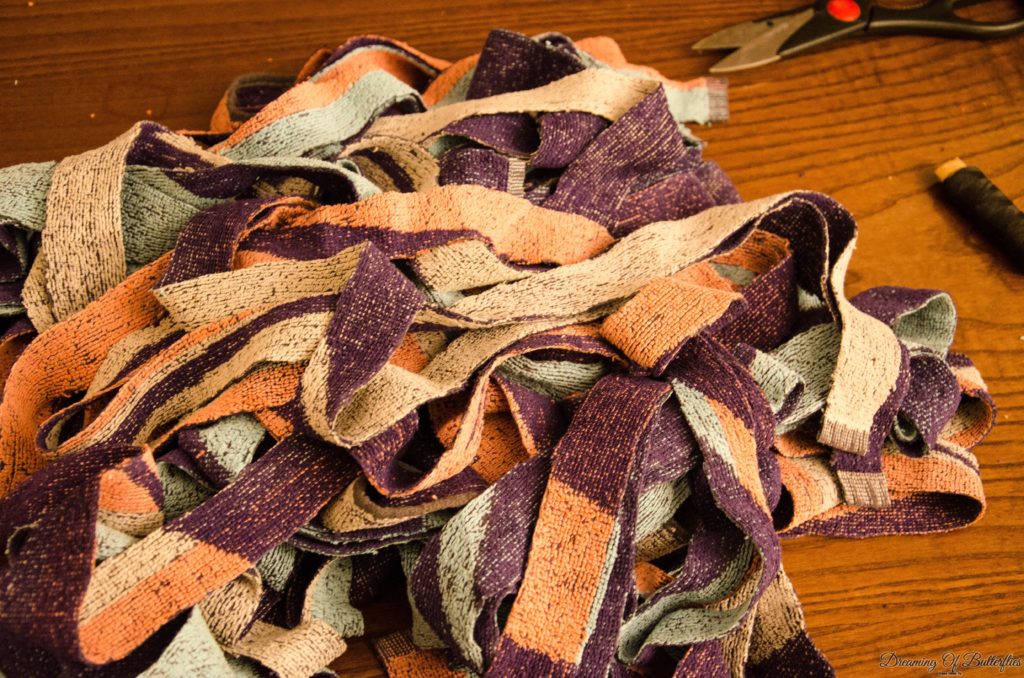
4. Now, you start braiding it, like a tail, but don’t make it too tight. 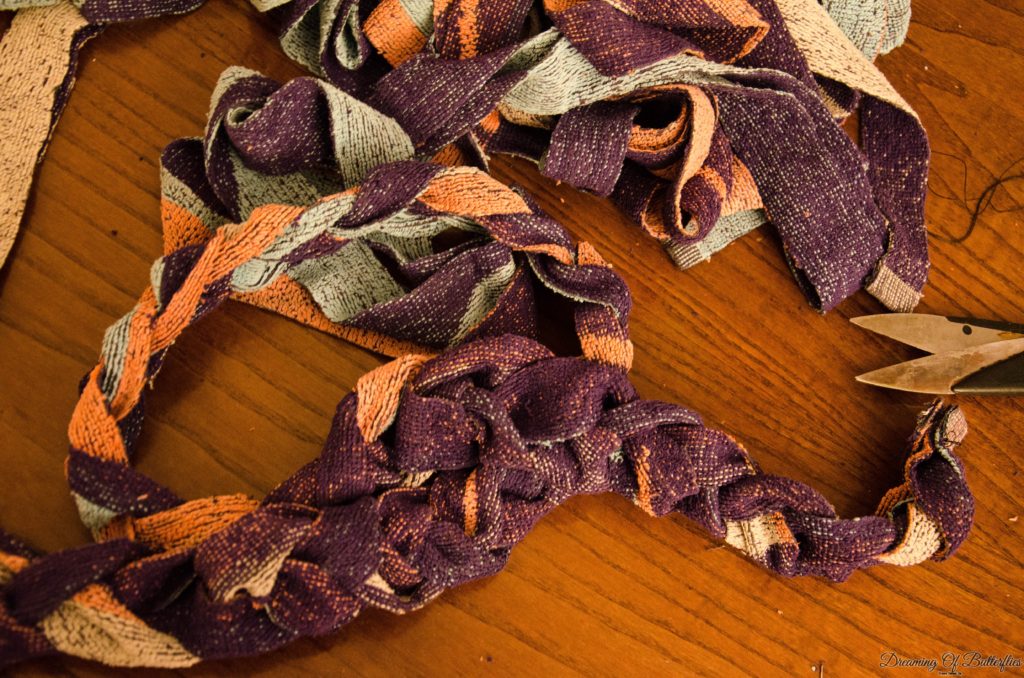
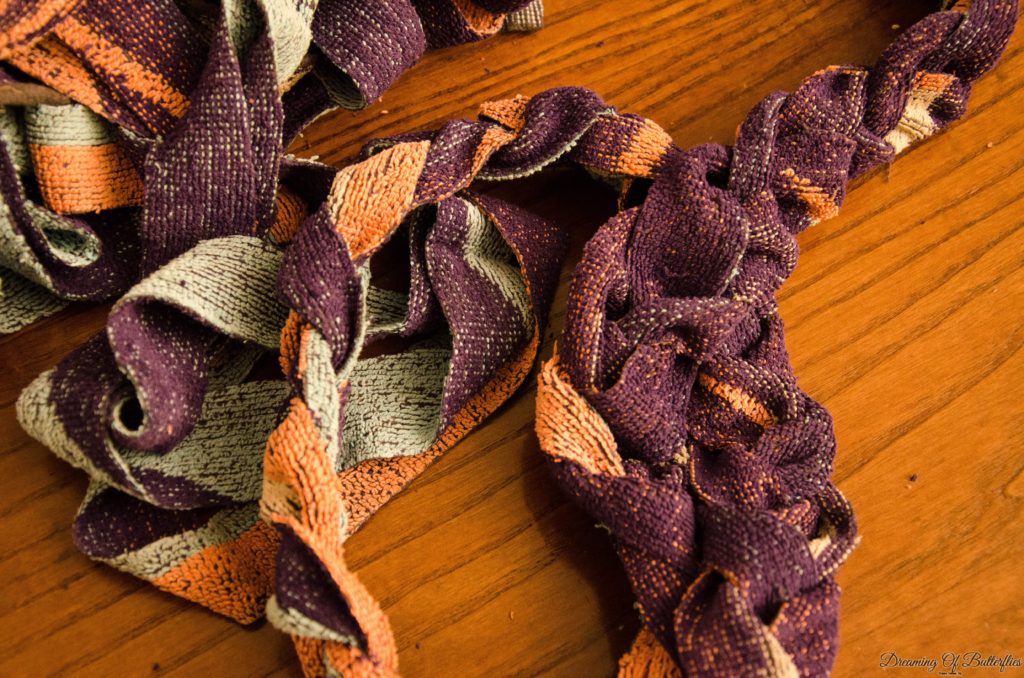
5. If you get to the end of a string, just sew some more to the existing one, then continue with the braiding. 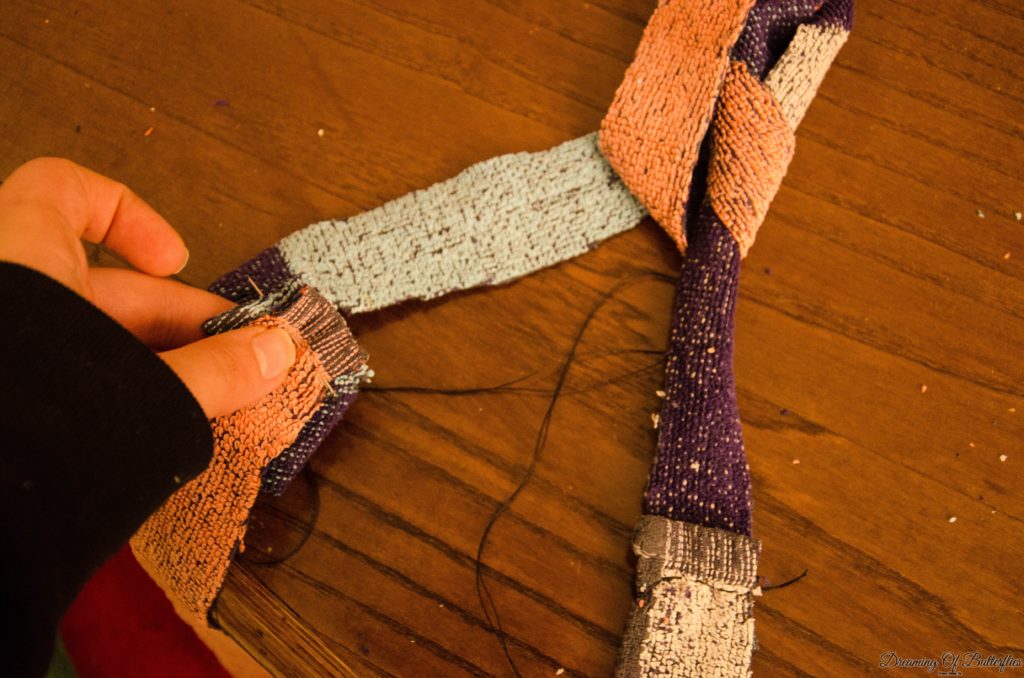 6. I wanted to make 2 towels, one for the front of the bathroom where the sink and the tub was, and another one for the seat, so I made two long strings, one a little longer than the other.
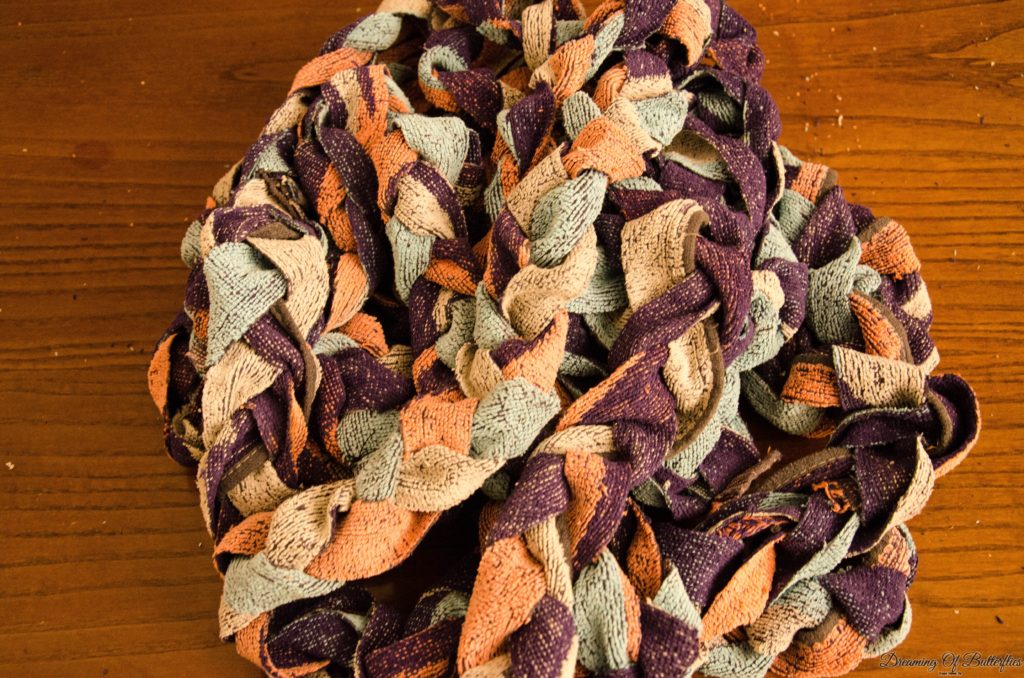
7. Now, start designing your towel.
At first, I wanted to make it a simple, round one. But, instead, I ended up with a big oval one, and a smaller one. I placed the strings on the table. I started by sewing the string in shape while building my mat, slowly and carefully, until I got what I wanted.
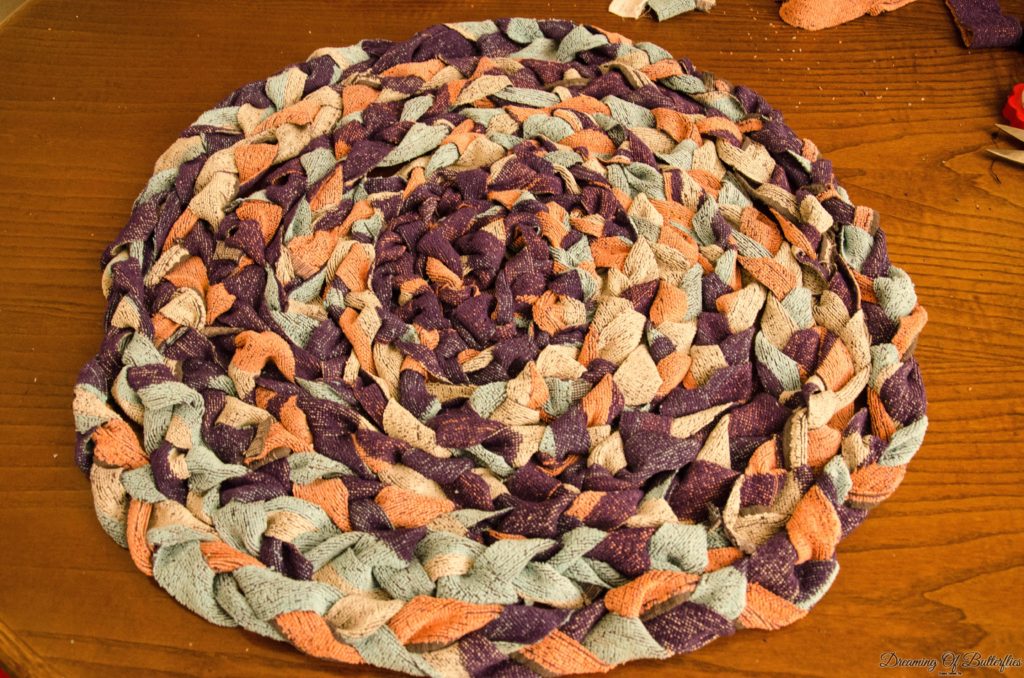
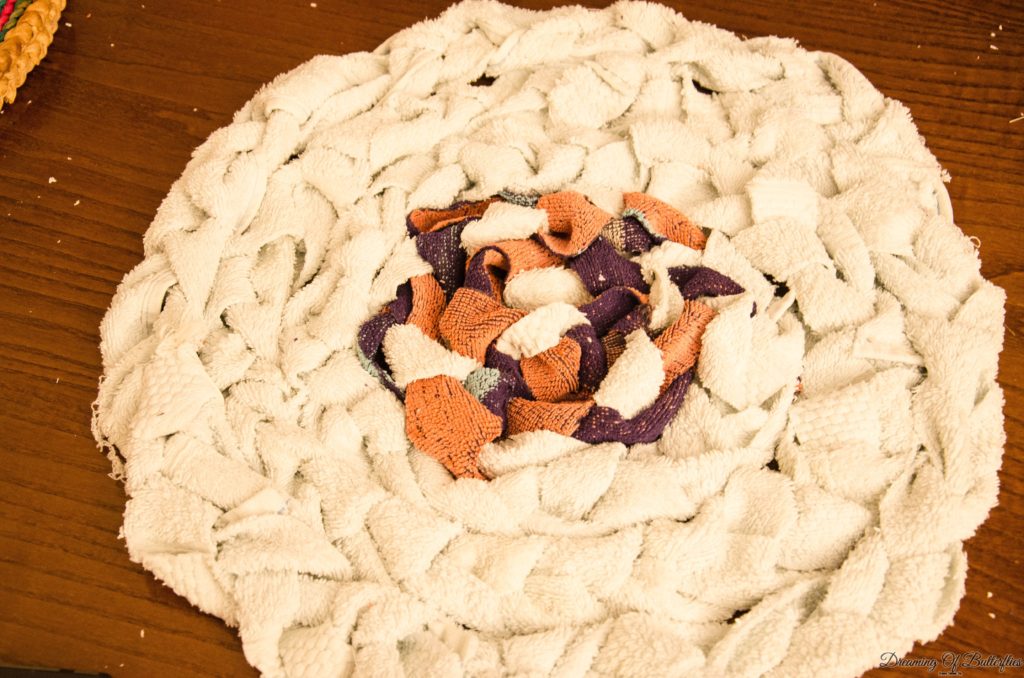
After a few hours of hard work and determination, my work was done! Yay!
Tip. Don’t be afraid to try. oh, and also – use very sharp scissors.
We hope you enjoyed our little DIY Bathroom Mat project for today, and if you did, please make sure to share it, pin it, tweet it! We will surely appreciate it.
Our question for you is: What would you recycle into a mat?